Press ESC to close

The Ultimate Guide to Selling Digital Products on Etsy with MyDesigns

Are you an Etsy seller looking to expand your product offerings and boost your income by selling digital items? Look no further than MyDesigns! This all-in-one platform is designed to simplify the process of creating, listing, and selling digital products on Etsy, making it the perfect tool for beginners and seasoned sellers alike.

With MyDesigns, you can take advantage of powerful features like bulk publishing, mockups, file conversion and automated order fulfillment, saving you time and effort while growing your business.

In this guide, I’ll walk you through the steps to set up your MyDesigns account and publish your first digital products on Etsy in no time. Get ready to unleash your creativity and start earning passive income with digital products!

Table of Contents

Step 1: Sign Up for a Pro or Pro Plus Plan at MyDesigns

To access the digital product features on MyDesigns, you’ll need to sign up for a Pro or Pro Plus plan. Don’t worry – upgrading is easy, and the benefits are well worth it! Simply visit the MyDesigns website, click on the “Sign Up” button, and choose the plan that best fits your needs.

The Pro plan is perfect for growing your business, offering features like bulk publishing and mockup generation for up to 48 listings at once, while the Pro Plus plan is designed for scaling your stores, with even more powerful tools, storage space, and the ability to publish up to 120 listings at once. As your business expands, you can easily upgrade your plan to access additional features and benefits.

Sign up for Pro or Pro Plus

Step 2: Connect Your Etsy Shop

After creating your MyDesigns account, the next step is to connect your Etsy shop. This simple process enables seamless publishing and order management, making your life as a seller much easier. Navigate to the “Shops” section under “Settings” in your MyDesigns account and click on the “Connect Etsy” button. Follow the prompts to authorize MyDesigns to access your Etsy shop, and you’ll be ready to start creating and selling digital products in no time! Connect Etsy Shop

Step 3: Upload Your Designs to a Collection

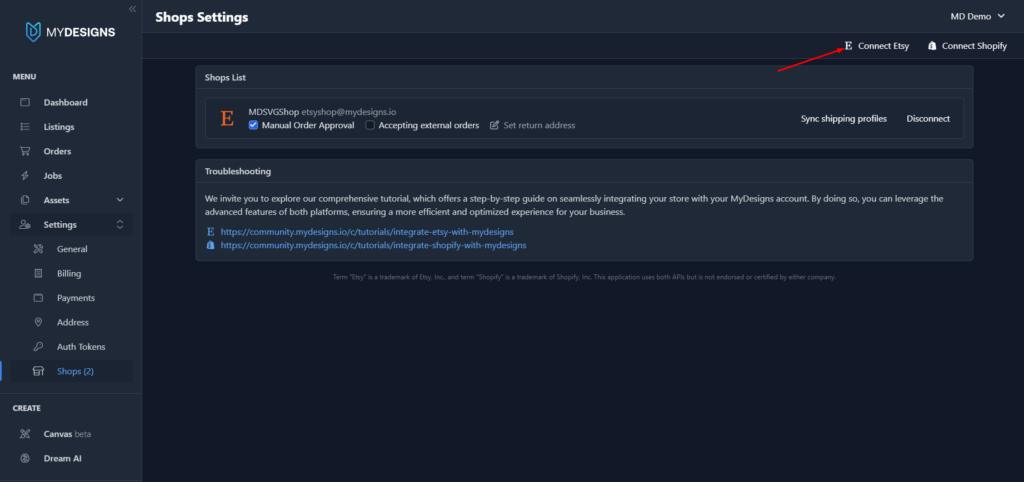
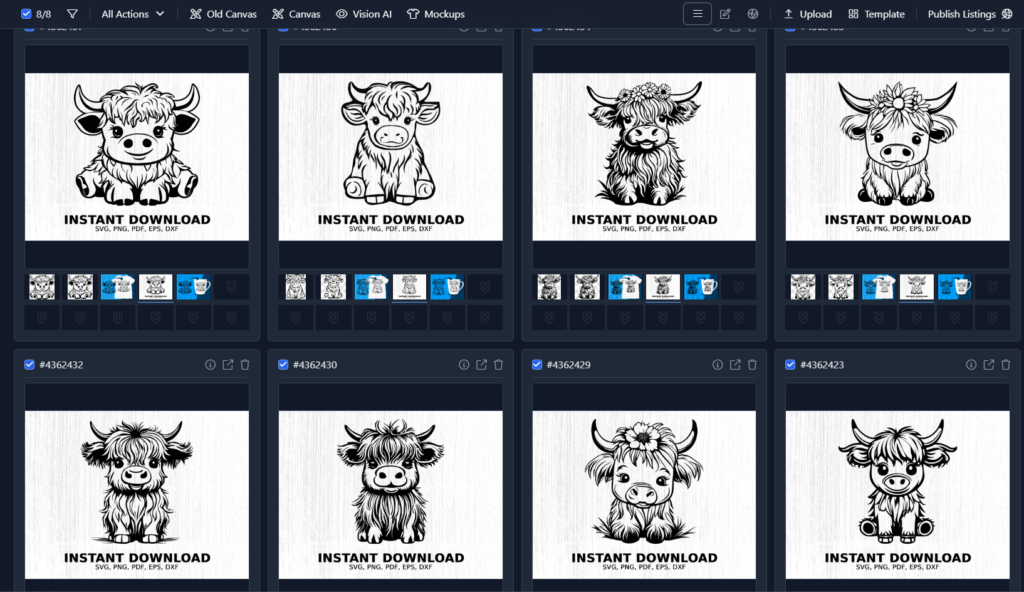
Now that your Etsy shop is connected, it’s time to upload your designs. Navigate to the “Listings” page in your MyDesigns account and create a new “Collection” to store your designs. Think of Collections as folders that help you organize your products by niche, trend, category, or any other criteria you choose.

Once you’ve created a Collection, click on the “Upload” button, and select the files you wish to upload. MyDesigns supports various file formats, including PNG, SVG, PDF, and ZIP, giving you the flexibility to work with your preferred file types. But here’s the best part – if you upload true SVG files, MyDesigns can automatically convert them to multiple formats (SVG, PNG, PDF, JPG, EPS, and DXF) during the digital products publishing process, automatically create a zip file, and generate a PDF with a download link for your customers. Talk about a time-saver!

Uploading SVG Files to Collection

Step 4: Add Listing Data for Titles, Tags, Descriptions, and Keywords

To attract potential customers and optimize your listings for Etsy search, you’ll need compelling titles, descriptions, and tags. With MyDesigns, you have several options for adding this crucial information to your listings. You can manually input your listing data, import it with a CSV or XLSX file, or bulk edit it directly in MyDesigns. In the “Keywords” dataset, I suggest adding information to the Primary and Secondary Keyword fields such as:

Primary Keyword: INSTANT DOWNLOAD

Secondary Keyword: SVG, PNG, PDF, EPS, DXF

The above is an example and you can input whatever info is most fitting for your listing/design. These keywords will be used in our mockups.

But for the most efficient and effective option, we recommend using Vision AI. This powerful feature generates highly optimized listing data for your digital products in bulk, saving you HOURS of manual work. Simply select your listings, click on the Vision AI button, and let our advanced AI tool analyze your designs and create SEO-friendly titles, descriptions, and tags tailored specifically to your products and Etsy.

PLEASE NOTE: Vision AI requires a PNG or JPG input file. If you uploaded SVG files to MyDesigns that you’re selling – you can simply generate mockups first (next step) and then come back to this step and select one of your generated mockups as your input file.

Video of Vision AI:

Step 5: Generate Product Mockups

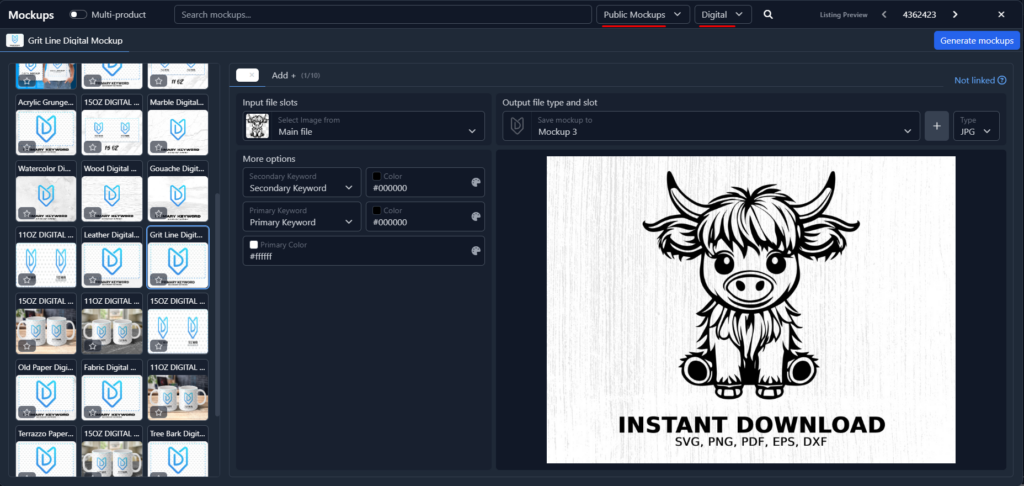
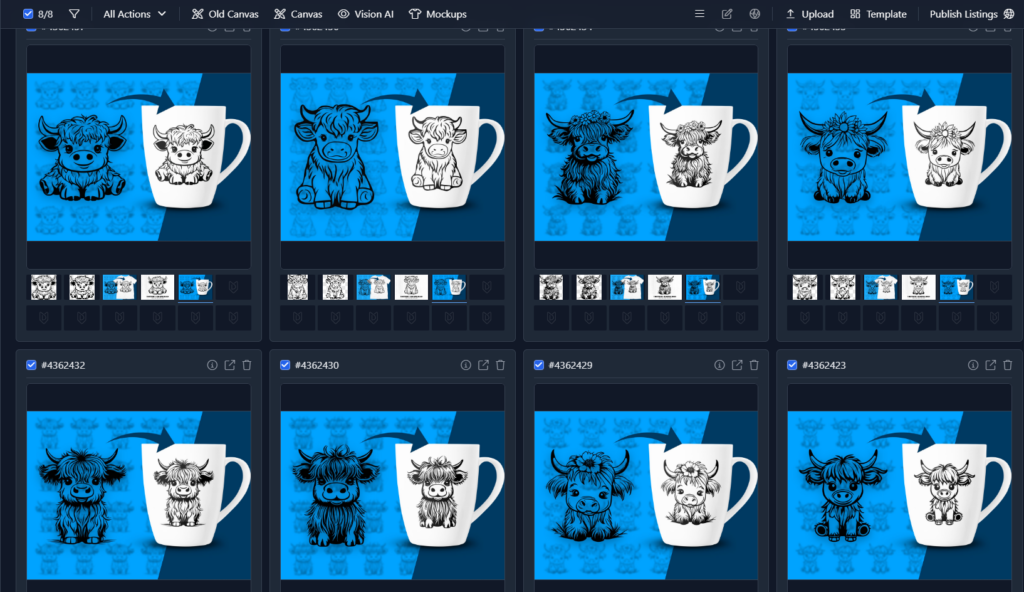
Product mockups are a great way to showcase your digital products and give potential customers a better idea of what they’re purchasing. With MyDesigns, creating professional-looking mockups is a breeze. Select your listings and use our mockups generator to produce high-quality product mockups in bulk. Choose the digital products category and select a variety of mockups, customize them, and generate your mockups in bulk for each selected listing then select and use these mockups during the publishing process.

Generating Mockups:

Previewing Mockups:

Step 6: Publish Your Listings and Files as Digital Products to Your Etsy Shop

You’re almost there! With your designs uploaded, listing data optimized, and mockups generated, it’s time to publish your digital products to your Etsy shop. MyDesigns makes this process quick and easy, with the ability to publish up to 48 listings at once on the Pro plan and 120 listings on the Pro Plus plan.

To publish, simply select your listings, click “Publish Listings” then choose the “Digital” option then go through each step to adjust settings as needed and publish your digital products to Etsy.

MyDesigns will create draft listings in your Etsy shop, complete with your optimized titles, descriptions, tags, and mockups along with a PDF file that contains a download link of your files for your customer. All that’s left is for you to review the listings on Etsy and publish them to make them live.

Video of Publishing Process:

Step 7: Going Live on Etsy

After publishing your products from MyDesigns, log in to your Etsy account and navigate to the “Listings” page. Click on the “Drafts” tab, where you’ll find your newly created digital product listings. Take a moment to review your listings. If everything looks good, select all and click the “Publish” button to make them live and available for purchase on Etsy.

From Drafts to Live Listings on Etsy

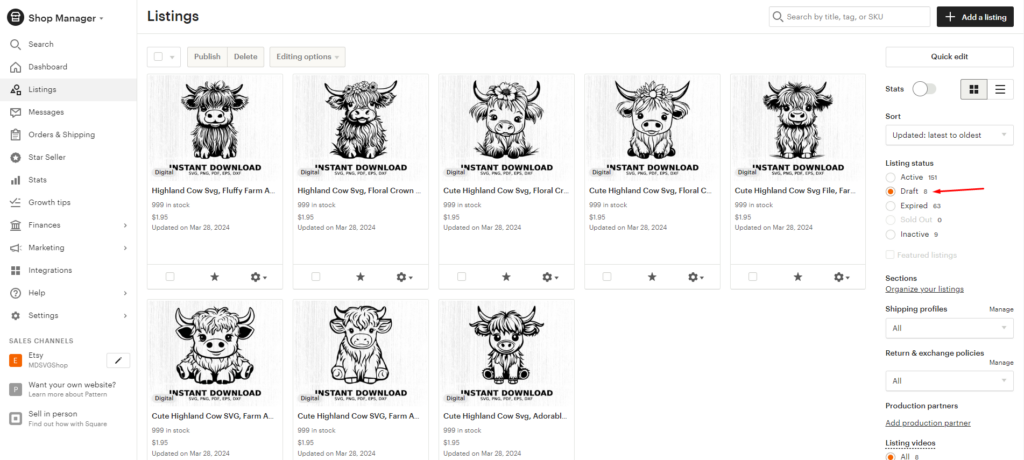
Congratulations – you’re now officially selling digital products on Etsy!

Step 8: Managing Orders

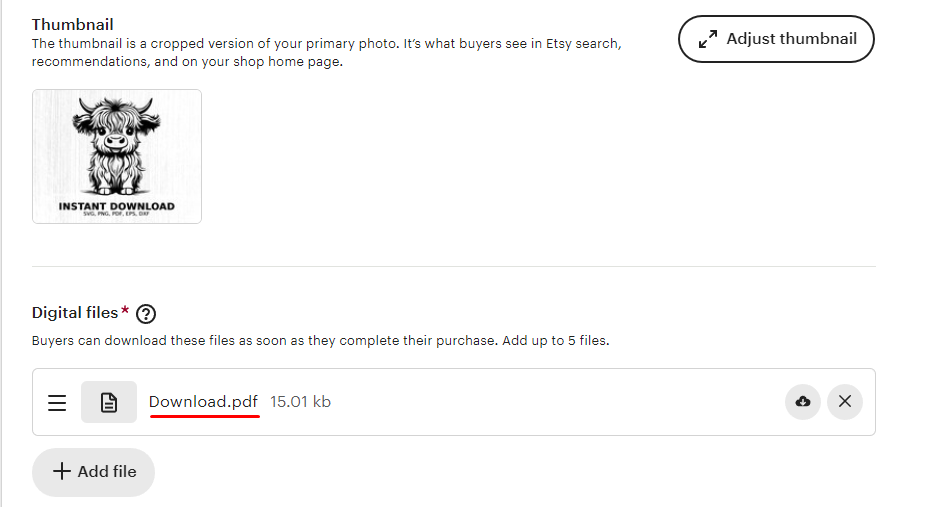
One of the best things about selling digital products on Etsy with MyDesigns is the automated fulfillment process. When a customer purchases your digital product, they will automatically receive a PDF with a download link to access their files – which will include ALL converted file types too if selected during the publishing process. This means you don’t have to manually convert files or send files to each customer, saving you time and effort.

In the rare case that a customer needs assistance with their download or you need to retrieve the link for them, you can easily do so through your MyDesigns account. Simply navigate to the “Listings” page, toggle the “Publications” filter on, and find the listing, and copy the download link to share with them.

Example of the PDF file added to your listing that your customer receives:

MyDesigns PDF in Etsy

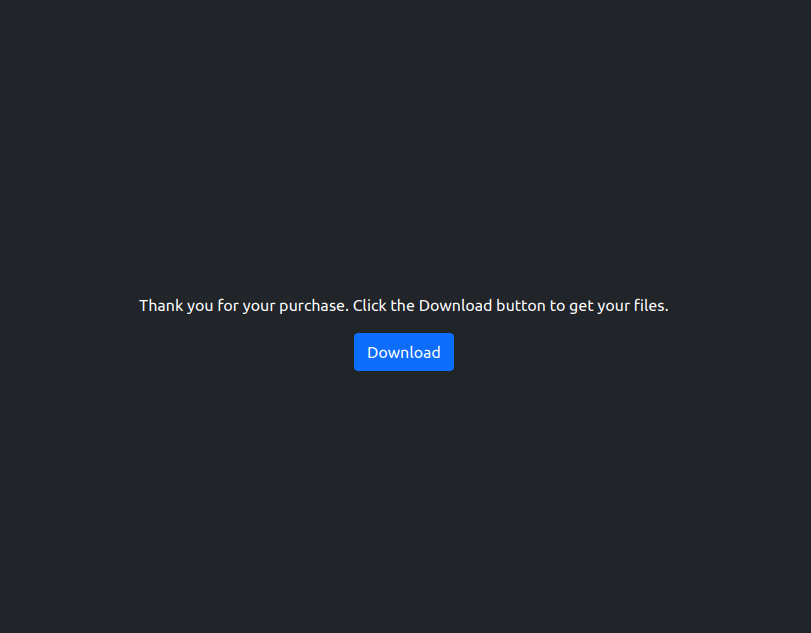
PDF Preview when opened by Customer:

MyDesigns Download PDF Example

Conclusion

Selling digital products on Etsy is a fantastic way to expand your online business and earn passive income, and with MyDesigns, the process has never been easier. By automating time-consuming tasks like publishing, file conversion, mockup generation, listing data, and order fulfillment, MyDesigns empowers you to focus on what matters most – creating amazing digital products and increasing your sales.

With the step-by-step information provided in this guide, you’re well on your way to launching your first digital products shop on Etsy. Remember, success on Etsy takes time and effort, but with the right tools, strategies, and consistency – you can achieve your goals and build a thriving online business.

So, what are you waiting for? Start your digital product journey on Etsy today with MyDesigns to create and scale your own passive income stream!

Leave a Reply

Your email address will not be published. Required fields are marked *