-
Creating a MyDesigns Account
The first step to getting started with MyDesigns is creating your account. Simply visit the MyDesigns website and click on the “Sign Up” button in the top right. You’ll be asked to provide your name, email address, and create a password. MyDesigns offers a few different plans to choose from. As your business grows, you can upgrade from Pro to Pro Plus to access even more powerful tools, features, and benefits.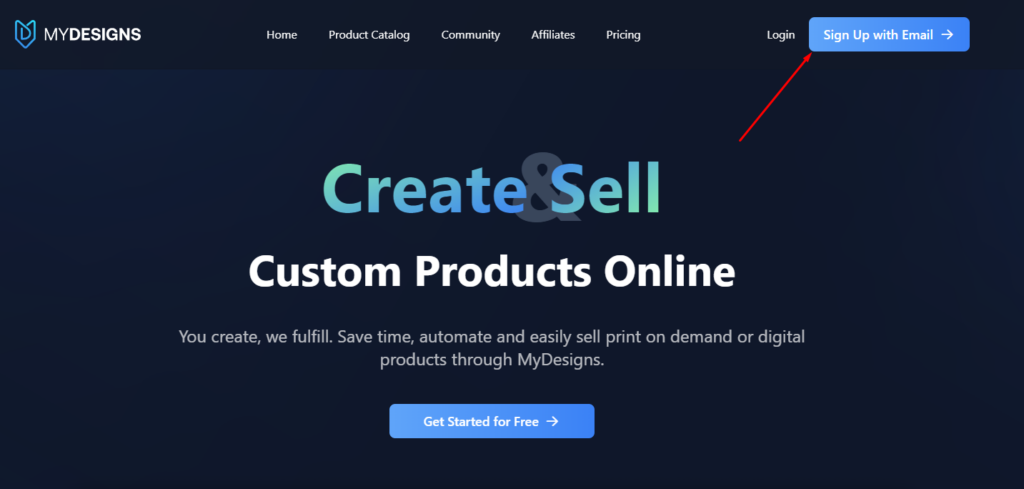
-
Connecting Your Etsy Shop
Once you’ve created your MyDesigns account, the next step is to connect your Etsy shop to MyDesigns. You can do this by first logging into your Etsy account, then in MyDesigns navigate to the “Shops” section located under “Settings” in the left-hand menu and click on the “Connect Etsy” button located in the upper right. You’ll be guided through the process of authorizing MyDesigns to access your Etsy shop. This integration allows MyDesigns to seamlessly publish listings to your shop and manage your orders.
-
Payment Setup
To ensure your Print on Demand orders are automatically processed and fulfilled, you’ll need to add a payment method to your MyDesigns account. You can do this by going to the “Payments” section in the left-hand menu under “Settings”, enter your credit or debit card information and click on the “+ Add Credit Card” button. Your credit or debit card information will be securely stored for future transactions. MyDesigns will automatically charge the base cost of your print-on-demand orders to this card, making the fulfillment process hassle-free. This only happens after you receive an order on Etsy which is where you’ll collect your profits.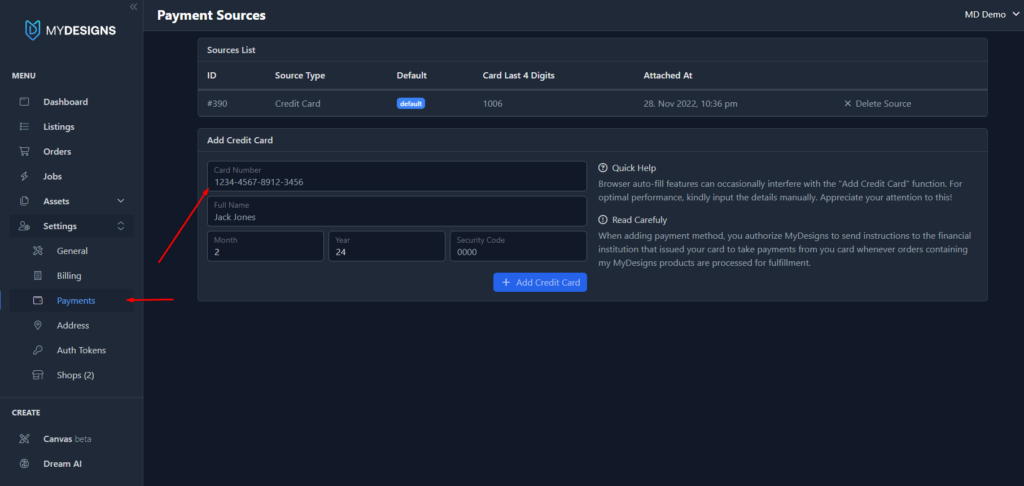
-
Return Address Configuration
The final step in setting up your MyDesigns account is configuring your return address. In the “Address” section of the settings menu, you can input your shop’s return address. This information will be used on the shipping labels for your orders and for any necessary product returns or exchanges – which are rare. If you prefer, you also have the option to use the printer’s address as your return address, further simplifying the process. You can find a list of the printers’ addresses here.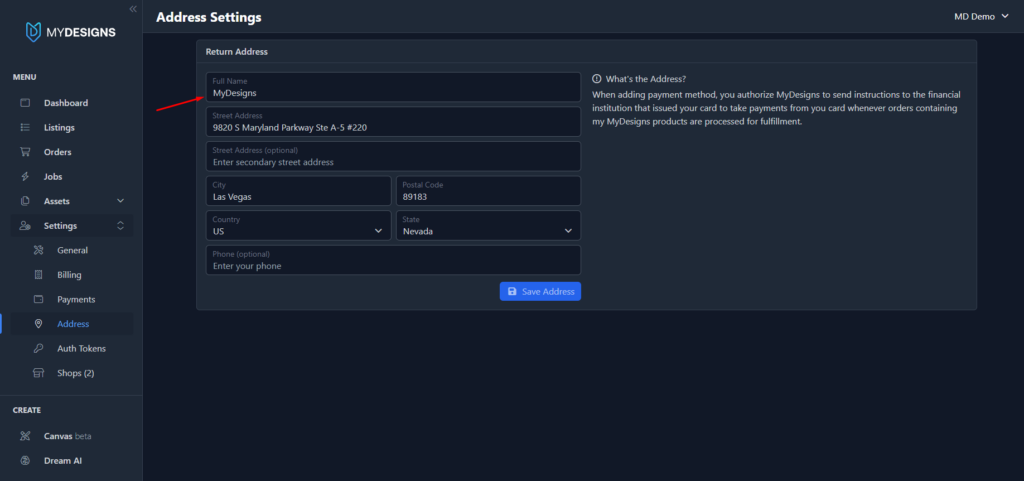
Now that your MyDesigns account is set up and connected to your Etsy shop, it’s time to start creating custom designs for your print-on-demand products. MyDesigns offers two simple ways to create your designs: using the built-in Canvas Editor or uploading your own pre-made designs.
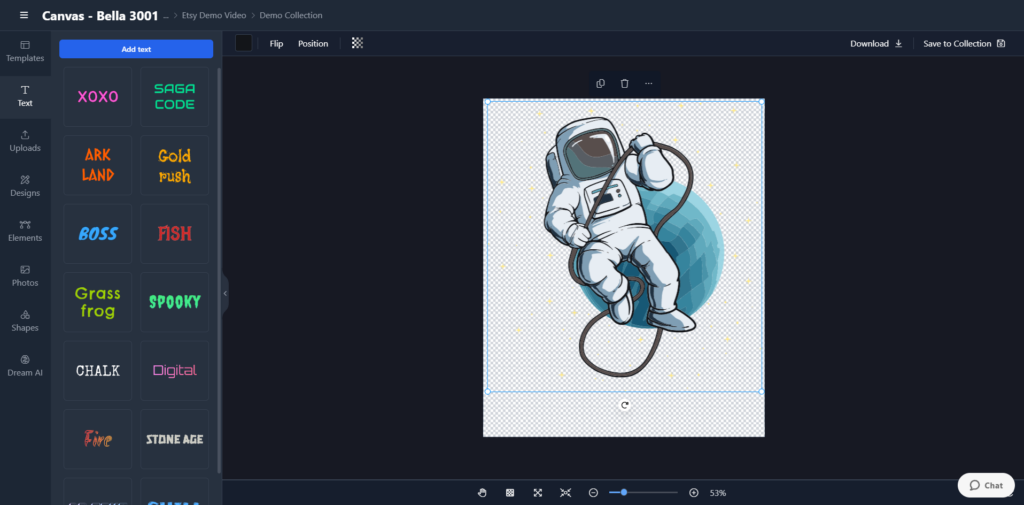
Creating Designs with the Canvas Editor:
The Canvas Editor is a powerful, user-friendly tool that allows you to create stunning graphic designs directly within the MyDesigns platform. To access the Canvas Editor, simply click on the “Canvas” tab in the left menu.
The Canvas Editor offers a wide range of design elements, including product templates for each of the products we offer, text, uploads, designs, elements, photos, shapes, and Dream AI (a powerful text to image AI generation feature). With these tools at your fingertips, you can easily create eye-catching designs that you can turn into bestselling Print on Demand products.
Uploading Your Designs
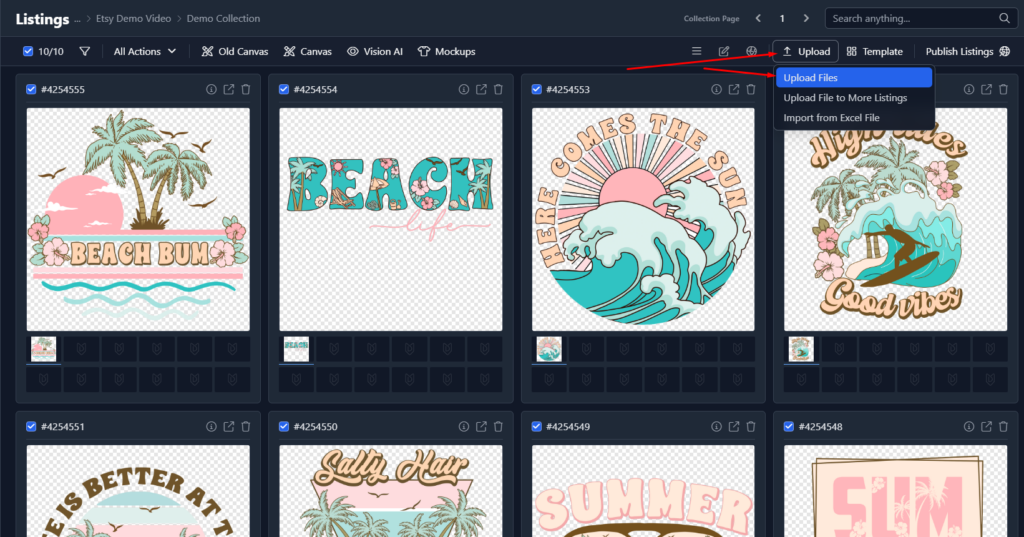
If you have designs or prefer to create your designs using external software, such as Adobe Illustrator or Canva, MyDesigns makes it easy to upload your pre-made designs. To do this, navigate to the “Listings“, create a “Collection” to store your designs in and open it, then click on the “Upload” button top right. You’ll be prompted to select the files you wish to upload from your computer. MyDesigns supports various file formats, including PNG, JPG, PDF, SVG, and ZIP. PNG is recommended for Print on Demand.
Organize Your Designs with Collections
As you create more designs, it’s essential to keep them organized for easy access and management. MyDesigns allows you to create “Collections” (or folders) to store your designs based on niches, trends, products, or any other criteria you choose. To create a new Collection, simply click on the “Home” button on the Listings page near the top left, from there, you can click “Add Folder” give it a name, choose the “Default Template”, and click the “Add New Folder” button. Now, you’ll want to open this newly created Folder, then you can upload your designs by clicking the “Upload” feature located top right then drag and drop your designs into the popup or select them to upload.
Adding Listing Data
To add data to your listings, navigate to the “Listings” page in your MyDesigns account and select the designs you wish to use. You can manually enter listing data to input all the information for your Etsy listings such as title, description, and tags, or use our “Bulk Edit” feature located under “Actions” to edit any of your fields in bulk. However, the best option is “Vision AI” which automatically writes highly optimized listing data for you in bulk…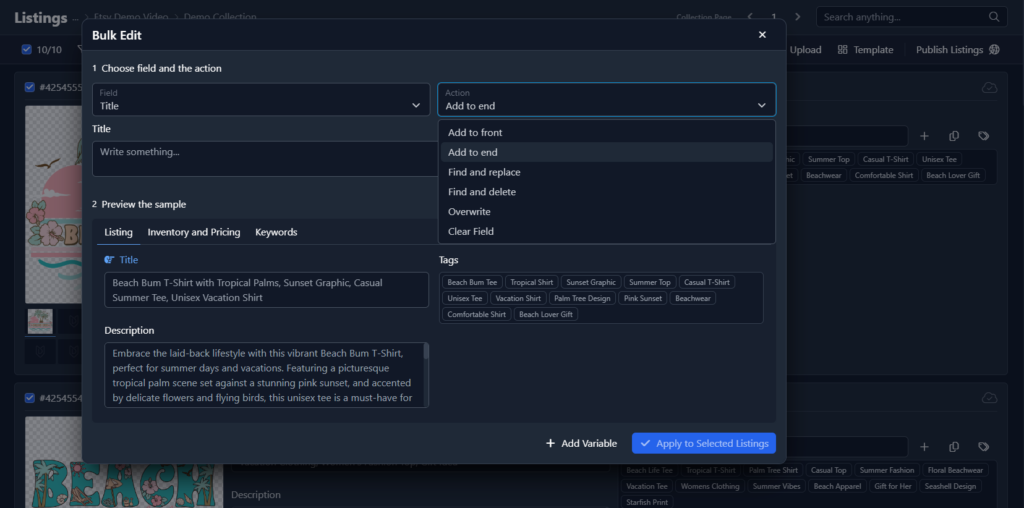
Utilizing Vision AI for Generating Optimized Etsy Listing Data
For Pro and Pro Plus users, MyDesigns offers Vision AI, an innovative feature that uses artificial intelligence to analyze designs and generates SEO optimized listing data in bulk. To use Vision AI, select your listings and simply click the “Vision AI” button, adjust the settings, then click run. Our AI algorithm will analyze your design and write great listing data for you, which you can review and edit further if you wish.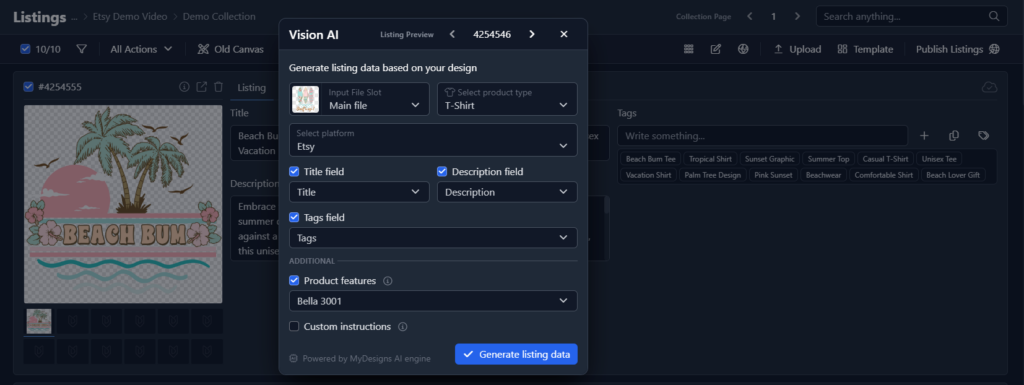
Step 1: Select Listings and Click Publish
From here, map your listing’s title, description, and tags fields then select a category to place your Etsy products under.Step 2: Choose Your Product
Decide which print-on-demand product you want to offer, such as t-shirts, mugs, phone cases, or wall art.Step 3: Select a Print Partner
Compare and choose a print fulfillment provider to fulfill your orders for you as they come in.Step 4: Customize Product
Customize your chosen product by selecting colors, sizes, and other available options. MyDesigns also offers a variety of mockups during this step you can select to showcase your design on the selected product.Step 5: Price Your Product
Determine the selling price for your product. You can adjust prices individually for each variant or use the bulk pricing tool which I highly recommend.Step 6: Review & Personalize
Preview your listings and ensure that all information is accurate and complete. Optionally, enable the personalization option for your products.Publish
Once you are satisfied with your listings, click the “Publish” button to push your products to Etsy in bulk. MyDesigns will automatically create draft listings in your Etsy shop, ready for you to review and publish from the Etsy side.Going Live on Etsy
After publishing your products from MyDesigns, your listings will appear as drafts in your Etsy shop. To make them live and available for purchase, log in to your Etsy account, navigate to the “Listings” page, click on the “Drafts” tab, review each listing, and click the “Publish” button next to each one.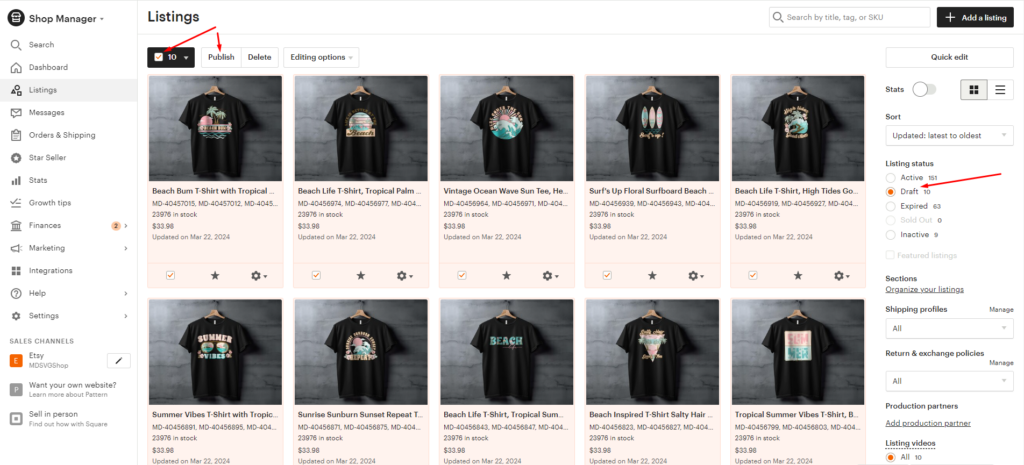
Automated Order Processing
When a customer places an order for one of your products on Etsy, MyDesigns automatically captures the order details, charges the base cost to your connected payment method, assigns the order to your selected print fulfillment partner, and updates the Etsy order with tracking information provided by the fulfillment partner.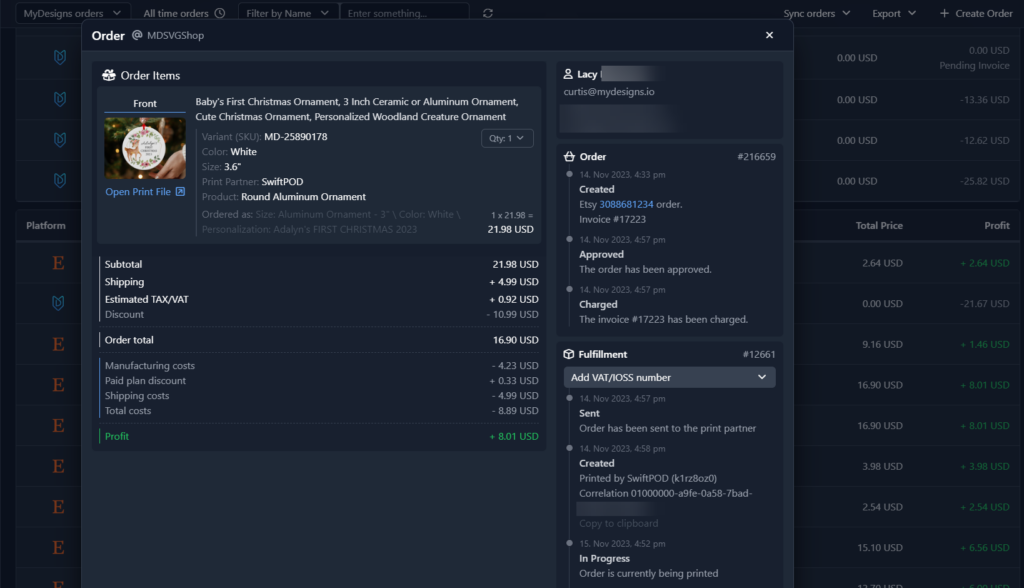


Leave a Reply